1. Recommended Computer Configuration for Installing deepin 23
- Processor:0GHz multi-core or higher frequency processor.
- Memory: 8GB or more physical memory.
- Hard Disk: At least 64GB of available hard disk space; it is recommended to install on a solid-state drive (SSD).
- Display: A screen resolution of 1920x1080 or higher is recommended.
Note: Configurations below the above may not provide the best experience.
2. Downloading the deepin 23 ISO
- Official Download Link (with flexible download options): https://www.deepin.org/en/download/
- Official Mirror Switch Tool (if the download is slow, you can switch mirrors; for users in China, it is recommended to use sources ending with 'cn' like tuna, ustc, aliyun, etc.): https://bbs.deepin.org/en/post/277042
3. Creating a deepin 23 System Installation USB Drive
Due to the size of the system image, it is recommended to use Ventoy to create a deepin 23 USB installation drive.
3.1 Download Ventoy
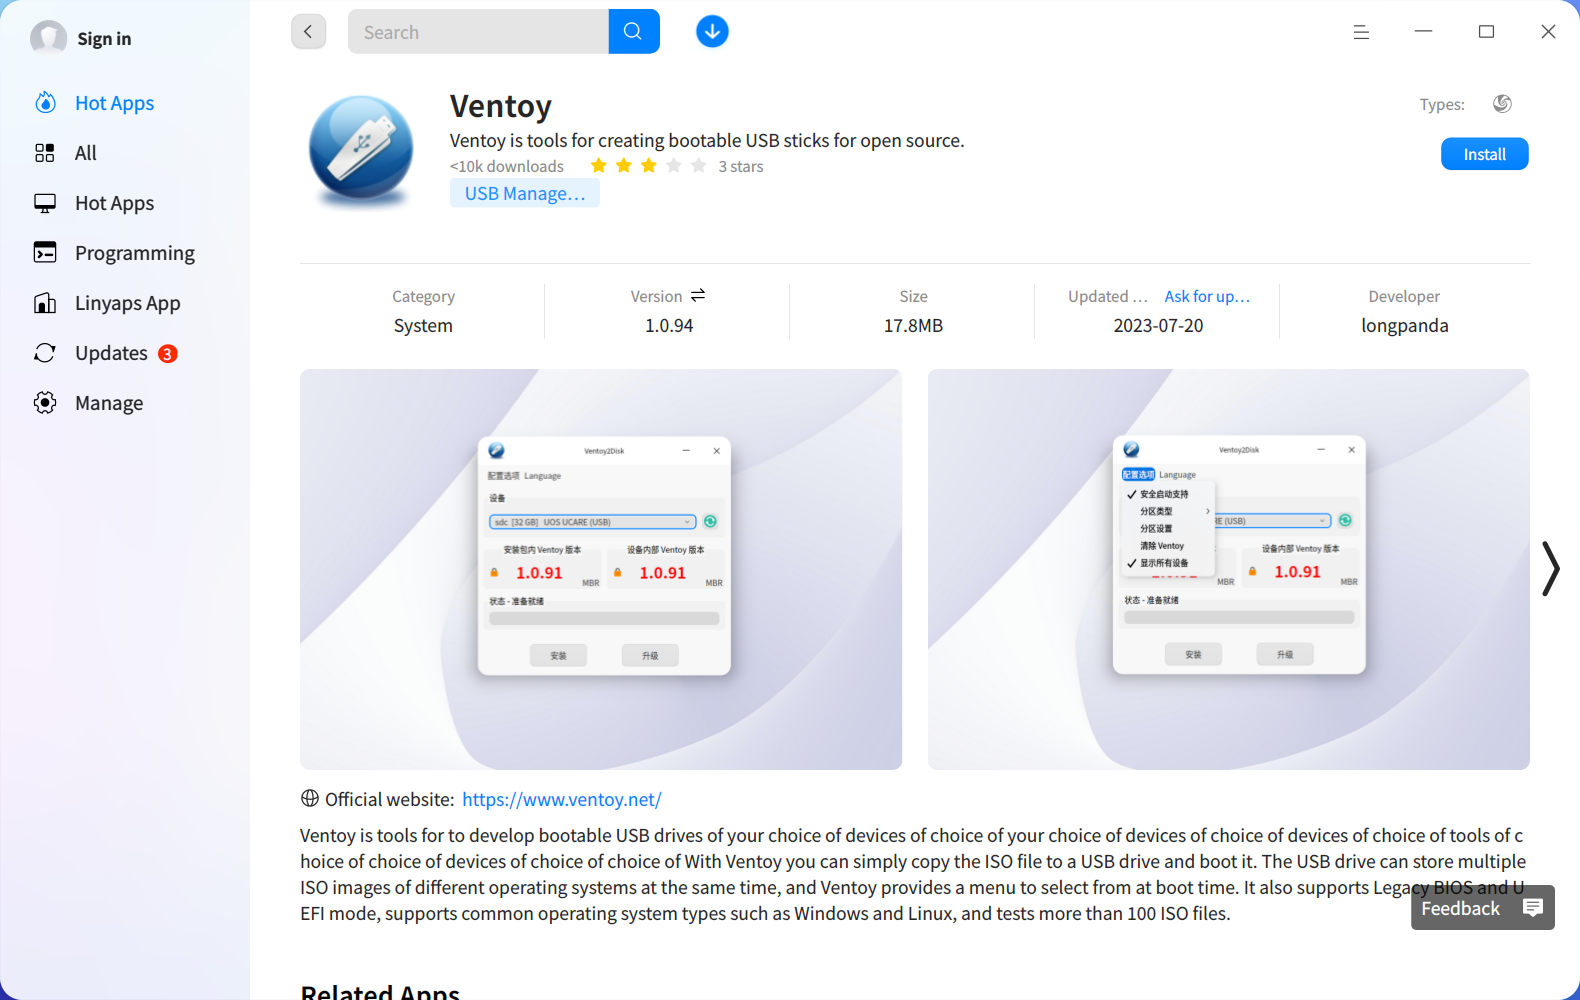
3.1.1 Download from the deepin App Store (if you are currently using another version of deepin)
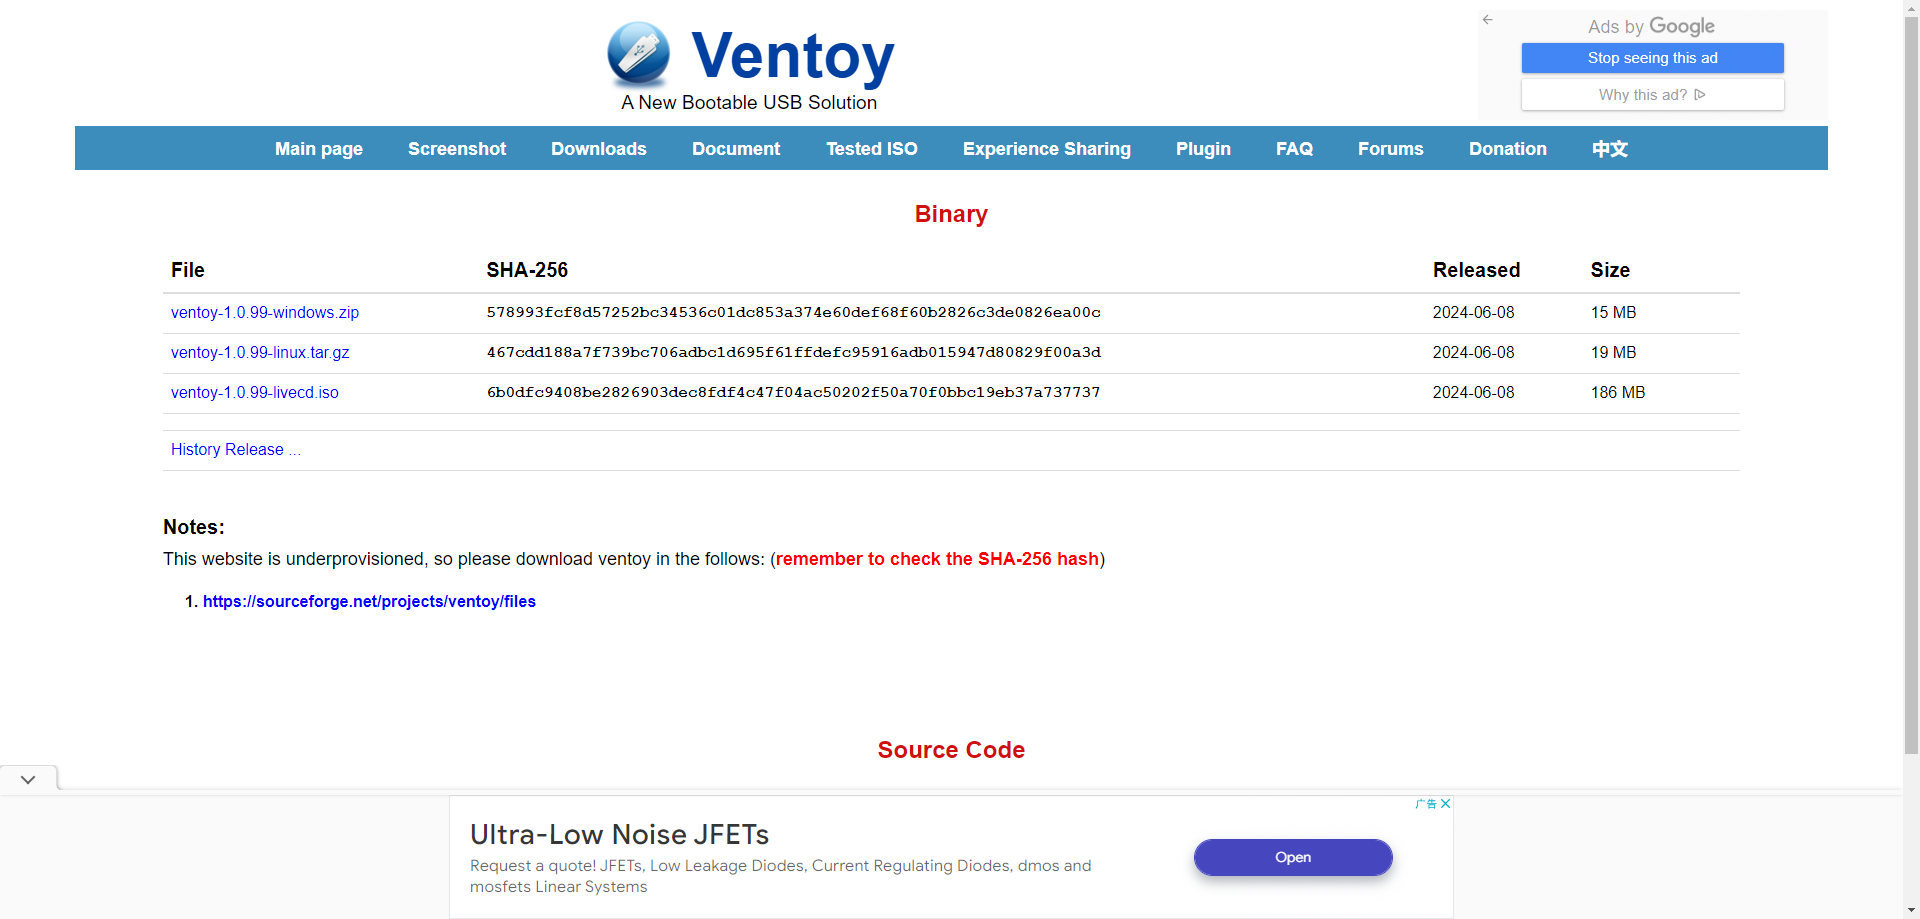
3.1.2 Download from the Ventoy official website
3.2 Creating the deepin 23 Installation USB Drive
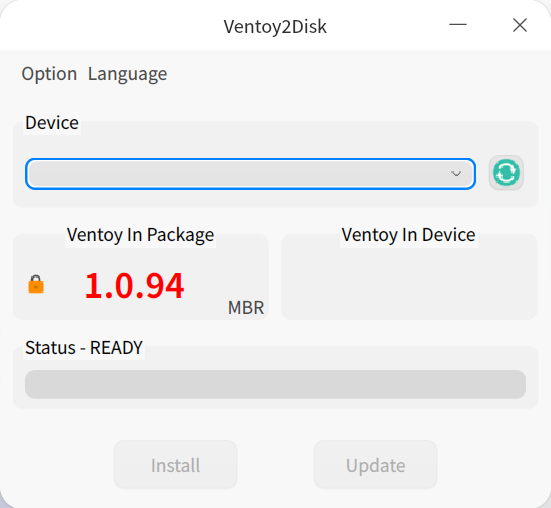
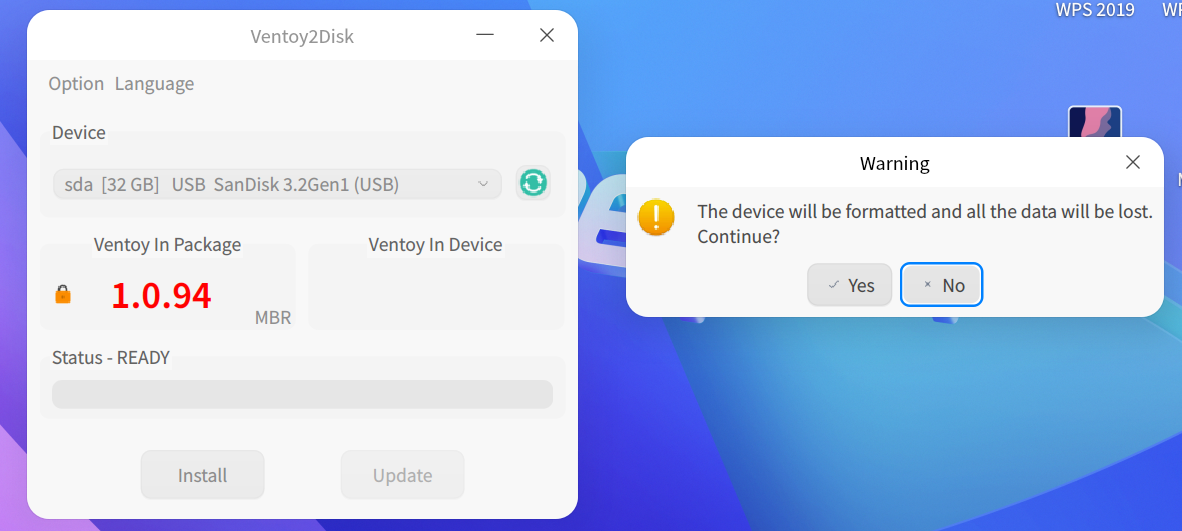
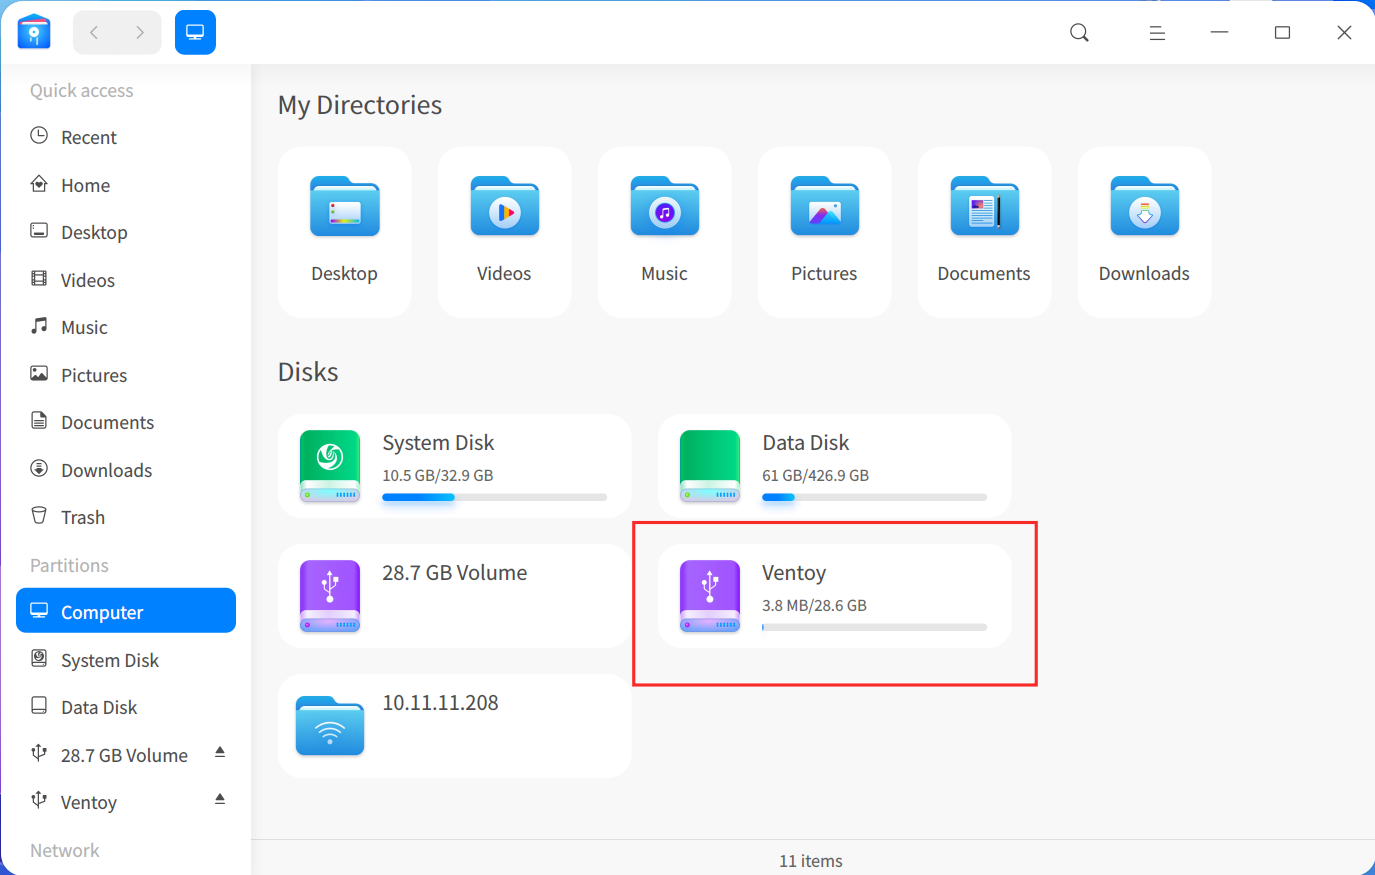
3.2.1 Create the USB Boot Drive
Before creating the USB boot drive, please ensure that all data on the USB drive has been backed up and transferred.
3.2.2 Copy the deepin 23 ISO Image to the USB Boot Drive
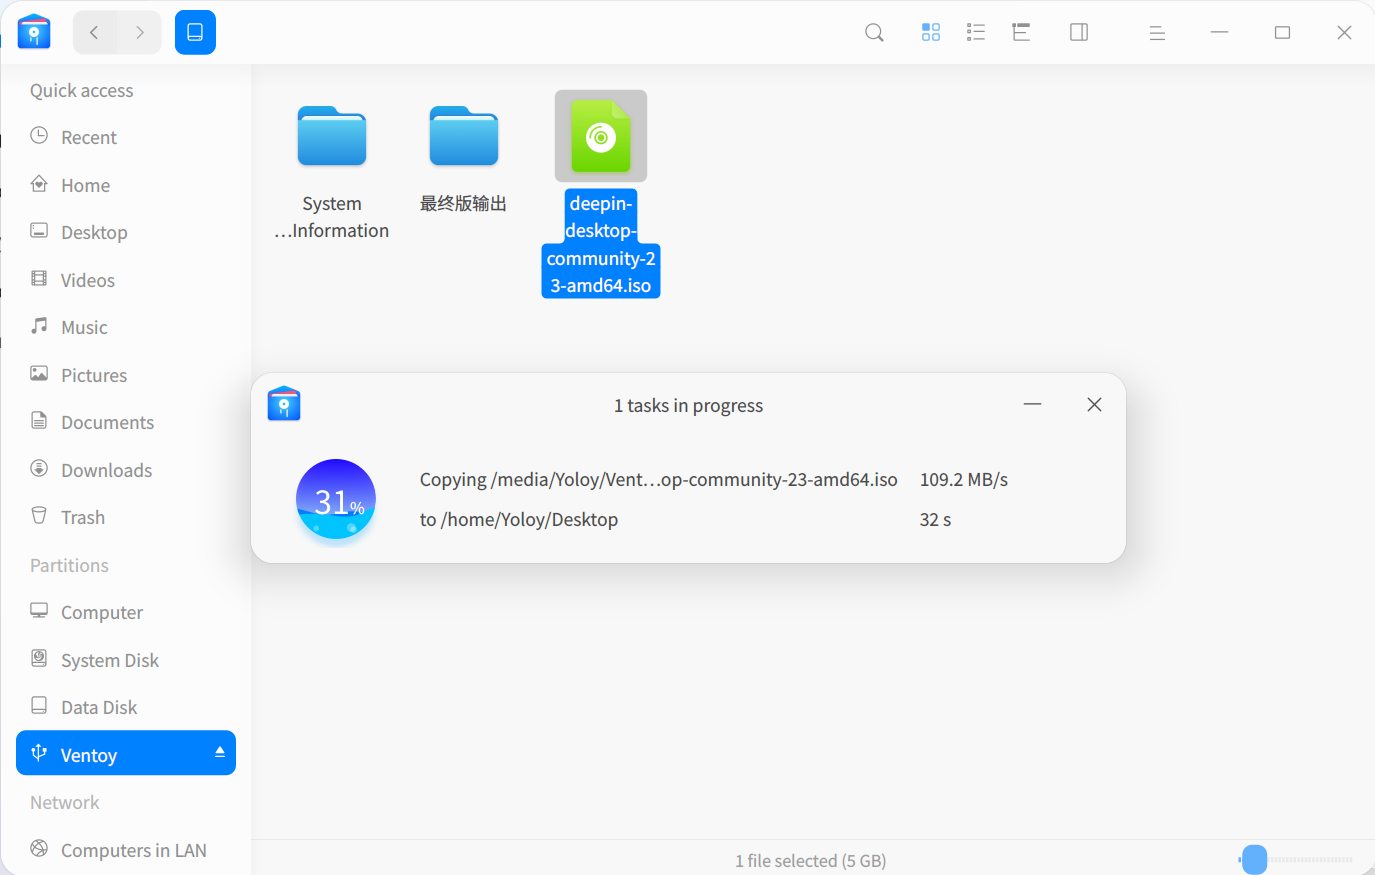
At this point, the deepin 23 USB system installation drive is ready, and you can proceed with the official system installation.
4. Installing the System via USB Drive
Using the prepared system installation USB drive, users can choose any of the following methods to install the system:
(1)Full Disk Installation: After installation, only the deepin system will remain (if there is only one hard drive in the computer, the entire hard drive will be formatted).
(2)Custom Installation: You can customize the size of each partition and achieve a dual system setup with deepin and Windows.
4.1 Full Disk Installation
4.1.1 Enter the BIOS Boot Options Interface
Insert the system installation USB drive into the computer, restart the computer, and within a few seconds after startup, continuously press the shortcut key until you enter the BIOS boot options interface, then select the USB drive. Please choose the corresponding shortcut key based on your computer; common keys for entering BIOS on various computers and motherboards are shown in the image (for reference only):

4.1.2 Select the Hard Disk Partition (deepin 23 will be installed on this partition)
Enter the main installation page and select "Full Disk Installation."

Select the disk where deepin 23 will be installed. Here, you can customize the system space size (adjustment is not recommended).

Full disk installation is relatively simple and does not require excessive custom settings. After selecting the disk partition for system installation, follow the installation guide steps and simply click "Next" to complete the system installation.

4.2 Custom Installation
Before performing a custom installation, please prepare the necessary disk space on your computer for installing deepin 23 (at least 65GB). Detailed instructions on how to partition disks on your computer are not covered here, but you can refer to this guide: How to Install Linux on a Computer - Disk Partitioning in Windows, which also serves as a dual-system installation guide for Windows and deepin.
4.2.1 Enter the BIOS Boot Options Interface
Insert the system installation USB drive into the computer, restart the computer, and within a few seconds after startup, continuously press the shortcut key until you enter the BIOS boot options interface, then select the USB drive. Please choose the corresponding shortcut key based on your computer; common keys for entering BIOS on various computers and motherboards are shown blow (for reference only):
Motherboards:
- F12: Asus, Gigabyte, Biostar, ASRock, Intel, Machinist
- ESC or F12: Colorful, ECS, Foxconn
- ESC: Intel, Machinist
- F11: MSI, Biostar, Machinist (Note: Biostar has multiple entries, including F12 and F9)
- F9: Biostar
Laptops:
- F12: Acer, Lenovo (some models), Toshiba, Dell, Haier, Tongfang, Samsung
- ESC or F9: HP
- ESC or F12: Asus
- F11: Sony, Great Wall
- Enter: Lenovo ThinkPad
- ESC: Hasee
Desktop PCs:
- F12: Acer, Dell, HP, Lenovo, Haier, Founder
- ESC: Asus, HP, Hasee, Samsung
- F11: Sony
- F8: BenQ
- Hold “Option” Key: Apple
4.2.2 Enter the Installer Interface
After entering the installer interface, choose "Custom Installation."
Set the system space and data space (the default configuration values are recommended, no adjustment needed).
Custom installation disk partition display (for computers with less than 8GB of memory, it is recommended to set a swap space).
Custom installation disk partition display (for computers with less than 8GB of memory, it is recommended to set a swap space).
For detailed partition setup explanations, refer to this post: How do you manually partition? Here is a solution.
Once settings are complete, you can begin the installation.
Please note that whether you choose "Full Disk Installation" or "Custom Installation," after the system installation is successful and you click "Restart Now," you must immediately remove the USB drive (there is a reminder in the installation interface!).
Releated Reading:
(2)deepin Full Version ISO (including deepin V15)
(3)deepin 23 Install Guide(deepin 23 RC/RC2 Upgrade)
(4)deepin 23 Install Guide(deepin 20.9 Upgrade)